


Export your Data with Zapier
This guide will walk you through the steps to export your data from Roccai to your chosen platform.
In order to extract your Roccai data you need to request a link from the support team, which will give you access to Roccai’s tool in Zapier. Please contact us by pressing the chat symbol in the bottom right corner on this page and request a link.
Step 1: Create a Zapier Profile
- Create a profile with Zapier or log in here.
- In order to extract your Roccai data you need to use the above mentioned link. The link will be sent to your email and contain a Zapier invitation.
Step 2: Create a zap
- When you have accepted the invitation, click the Create button and select Zaps.

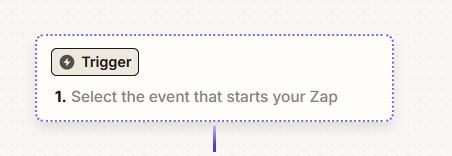
Step 3: Select the trigger
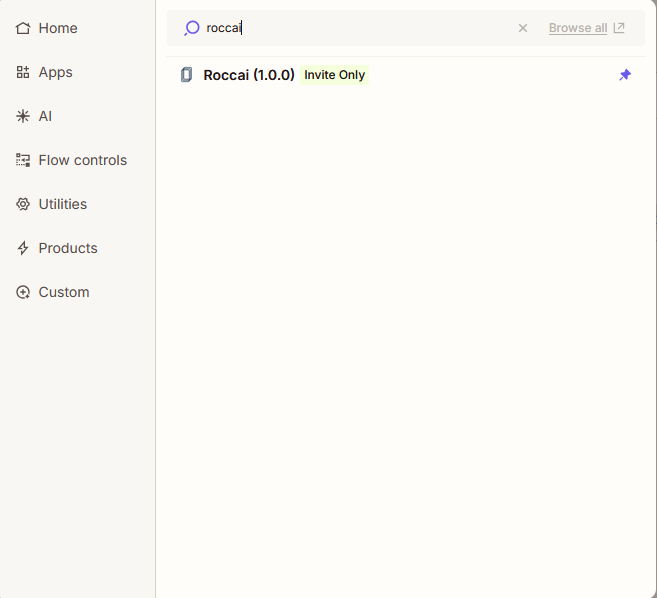
Step 4: Search for “Roccai”
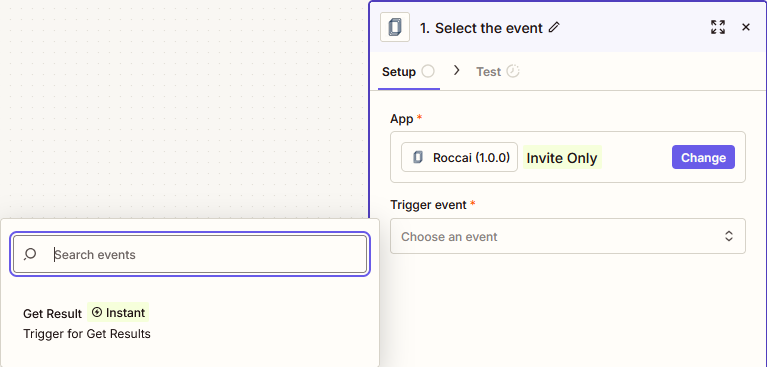
Step 5: Select from drop down
- Select Get Result from the Trigger event drop down menu.
- Click Continue at the bottom of the window.
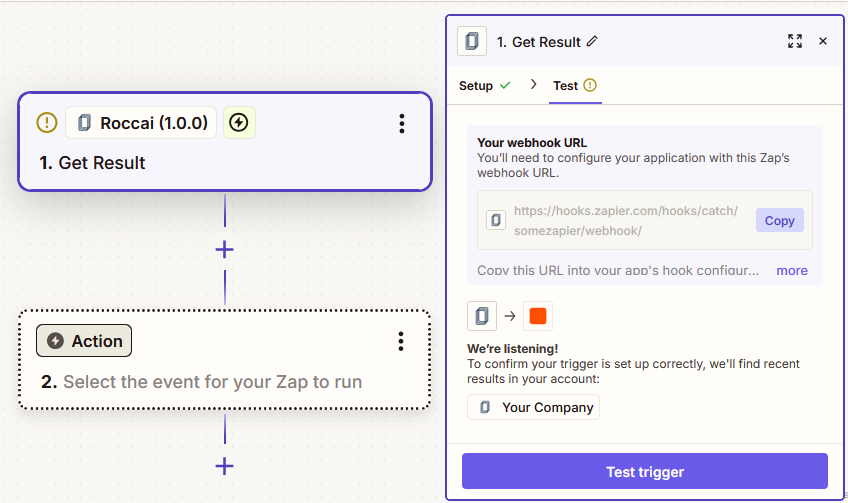
- Copy Your webhook URL on the next page
Step 6: Insert your webhook URL
- Go to the Guide Settings for the guide you wish to link to Zapier.
- Choose the Integrations tab and click Zapier.
- Change the toggle to enabled and insert your Zapier webhook URL into the webhook URL field.
- OPTIONAL: Select campaign ids from the drop-down if you wish to only connect certain campaigns to Zapier.
- Click Save to apply the changes.
- You are now ready to test!
Step 7: Testing the Zap
- Open your guide through a campaign link and complete the guide.
- This will trigger the action on Zapier
- Now go back to your Zap on Zapier.com
- click Test trigger.
Your interaction data should appear under Result A, confirming the setup is working correctly.
Step 7: Choose Your Connection
Select the desired connection for your data export.
For example, to send data to your email

Need More Help?
If you need further assistance exporting your data from Roccai, please contact us via chat support.